| Oracle® Business Intelligence Publisher 11g Release 1 (11.1.1) |
|
 Previous |
 Next |
The Properties page is where you manage report localizations (also referred to as translations).
Report localizations are supported for
RTF layout files
style templates
subtemplates
BI Publisher layouts (.xpt)
There are two options for adding localizations for templates:
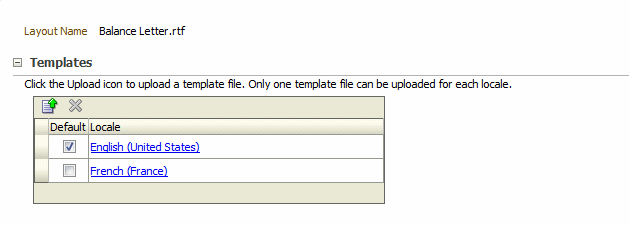
Create a separate RTF template that is translated (a localized template). This option is available for RTF templates only. These are uploaded to the Templates region of the Properties page.
Generate an XLIFF from the original template. At runtime the original template is applied for the layout and the XLIFF is applied for the translation. This option is available for RTF templates and BI Publisher layouts (.xpt). These are uploaded to the Translations region.
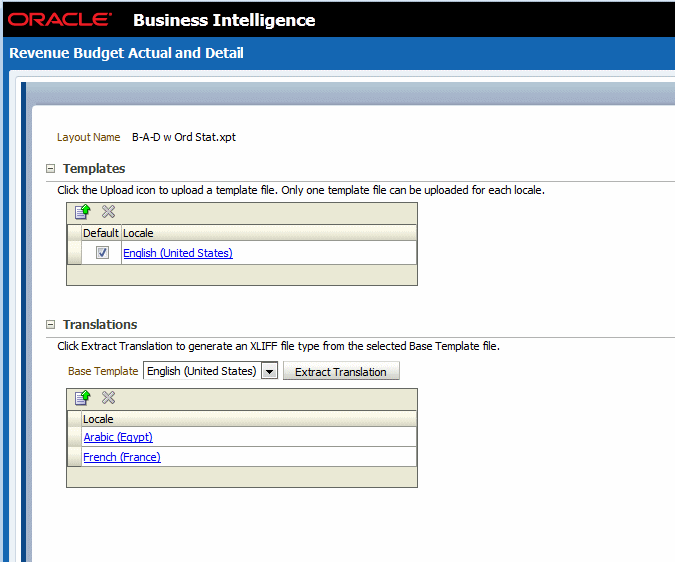
Use the first option if the translated template requires a different layout from the original template. See Adding Localized Templates to a Report.
If you require only translation of the text strings of the template layout, then use the XLIFF option. See Adding XLIFF Translations to a Report.
For more information about the localization options and processes see the chapter "Translation Support Overview and Concepts" in the Oracle Fusion Middleware Report Designer's Guide for Oracle Business Intelligence Publisher.
For RTF-based report templates, subtemplates, and style templates you can upload locale-specific templates. Use this option when you have a single report with very specific layout requirements for different locales. For example, assume you have an invoice that must go to Japanese customers, German customers, and Arabic customers. Each locale requires a different placement of report elements or data fields. You can create an RTF template for each locale. At run time BI Publisher generates the report using the appropriate localized template
You upload each localized template to the Templates region of the Properties page.
To upload a localized template:
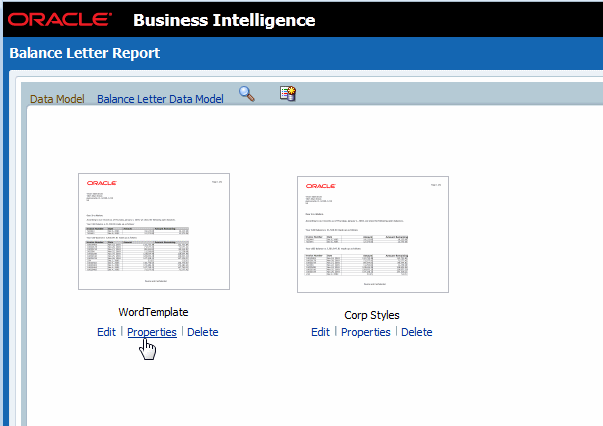
Navigate to the Properties page: From the Report Editor, click Properties for the template for which you want to add localizations.
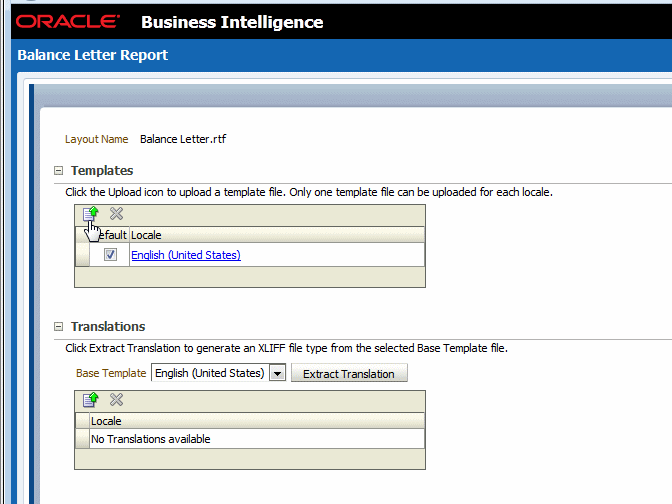
On the Properties page, under the Templates region the default template is displayed. Click Upload.
Locate the localized template file in your file system and select the appropriate locale.
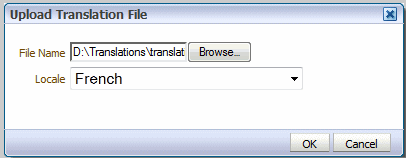
Click OK. The localized template displays in the Properties page.
Translation is a feature of BI Publisher that enables you to extract the translatable strings from a report layout into an industry-standard XLIFF translation file.
You can translate these strings within your organization or send the file to a localization provider. You then upload the translated XLIFF file back to the report and assign it the appropriate locale.
At run time, when a user's Locale preference is set to the locale of an available XLIFF translation file, the translated strings from the XLIFF are applied to the report template and the user sees the translations of the text strings appropriate for his locale.
XLIFF translation is supported for all RTF-based templates as well as BI Publisher layouts:
RTF layout files
style templates
subtemplates
BI Publisher layouts (.xpt)
To generate and download the XLIFF file for a report layout, subtemplate, or style template:
Navigate to the Properties page: From the Report Editor, click Properties for the template for which you want to add translations.

In the Translations region, click Extract Translation.
BI Publisher extracts the translatable strings from the template and exports them to an XLIFF (.xlf) file.
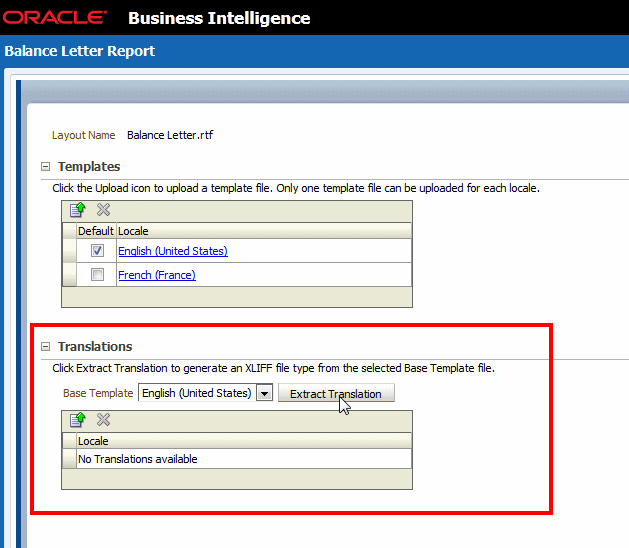
Save the XLIFF file to a local directory.
After downloading the XLIFF file, you can send it to a translation provider, or using a text editor, you can enter the translation for each string. For information about how to edit an XLIFF file, see the chapter "Translation Support Overview and Concepts" in the Oracle Fusion Middleware Report Designer's Guide for Oracle Business Intelligence Publisher.
A "translatable string" is any text in the template that is intended for display, such as table headers and field labels. Text supplied at run time from the data is not translatable.
You can translate the template XLIFF file into as many languages as desired and associate these translations to the original template for multiple language support in a single report.
|
Important: Ensure that when you save your translated file, you save it with UTF-8 encoding. |
To upload the translated XLIFF:
Navigate to the Properties page: From the Report Editor, click Properties for the template for which you want to add translations.
In the Translations region, click the Upload toolbar button.
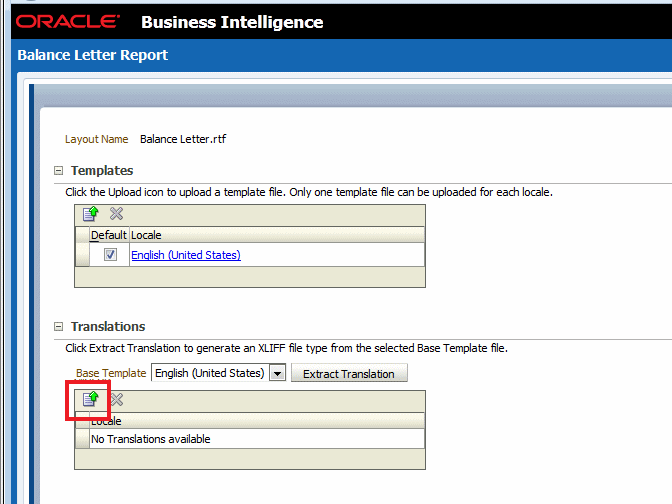
In the Upload Translation File dialog locate the file in a local directory and select the Locale for this translation.

Click OK to upload the file and view it in the Translations table.
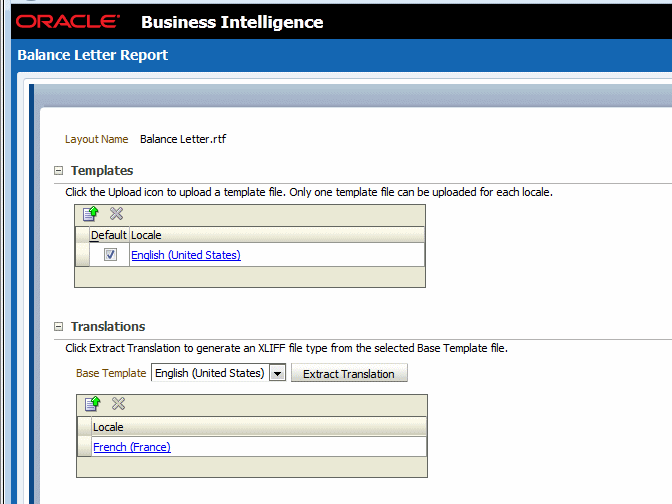
Now users whose locale setting matches the locale assigned to this translation see the translated strings when viewing this template.